WELCOME TO OUR OFFICIAL WEBSITE!!
SAME DAY DELIVERY NOW AVAILABLE ON ORDERS PLACED BEFORE 5:30 PM FROM MON-SAT
Previous
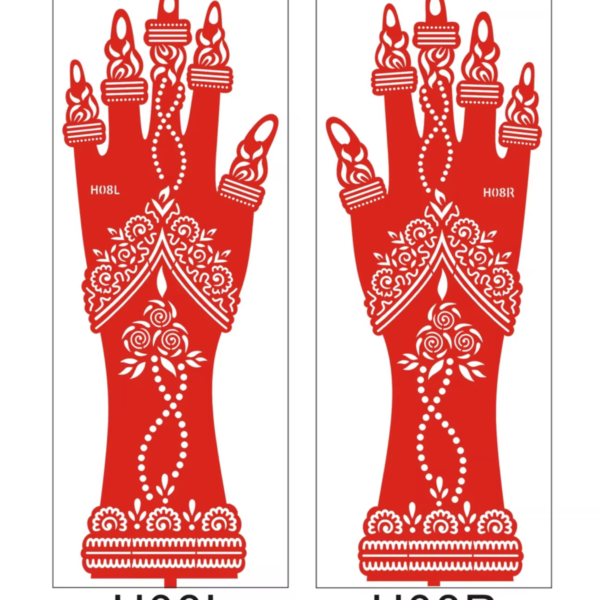
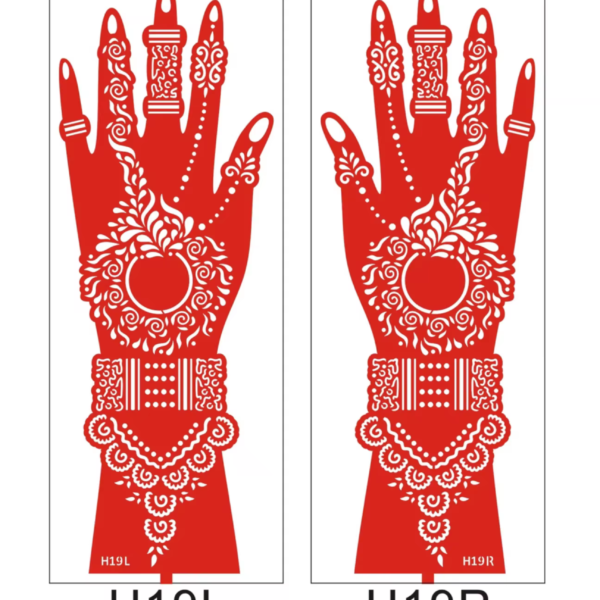
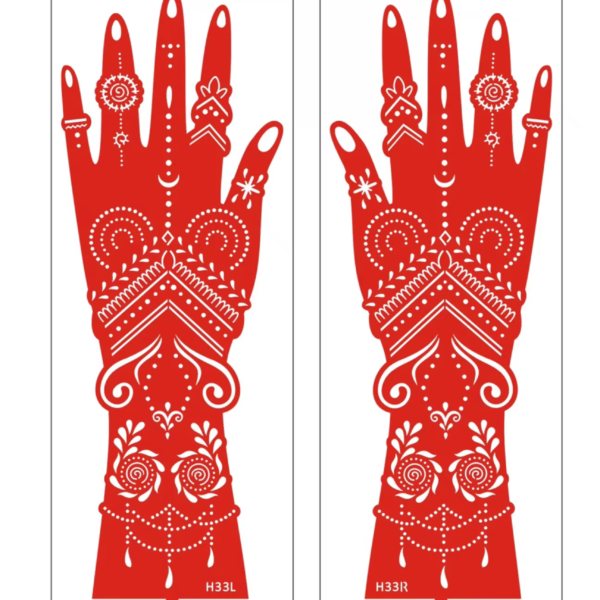
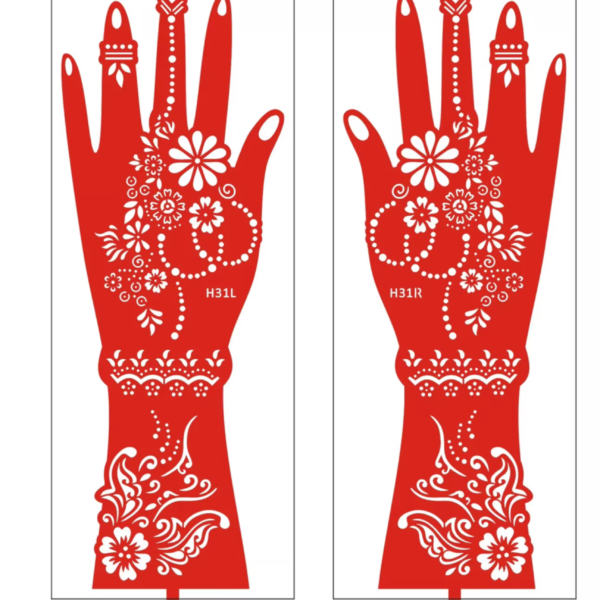
Authentic Henna Stencils in Kenya for left and right hands

Henna Stencil H33

KShs 550.00
Next

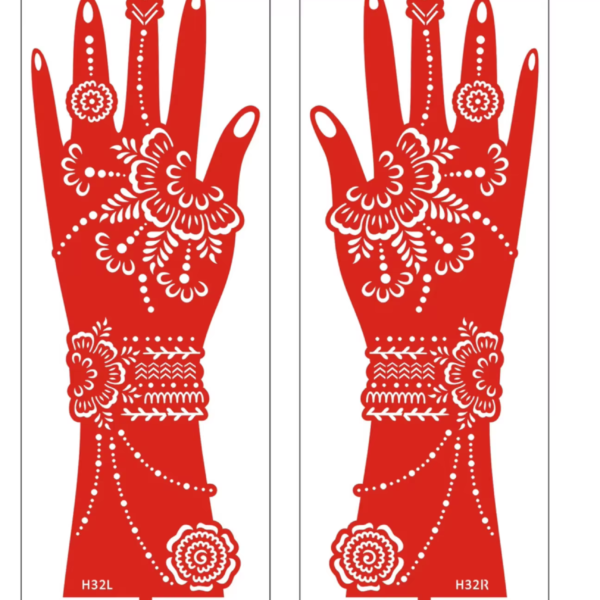
Henna Stencil H32

KShs 550.00
Floral Henna Stencils in Kenya showing H32L and H32R hand designs

Henna Stencil H04

KShs 550.00

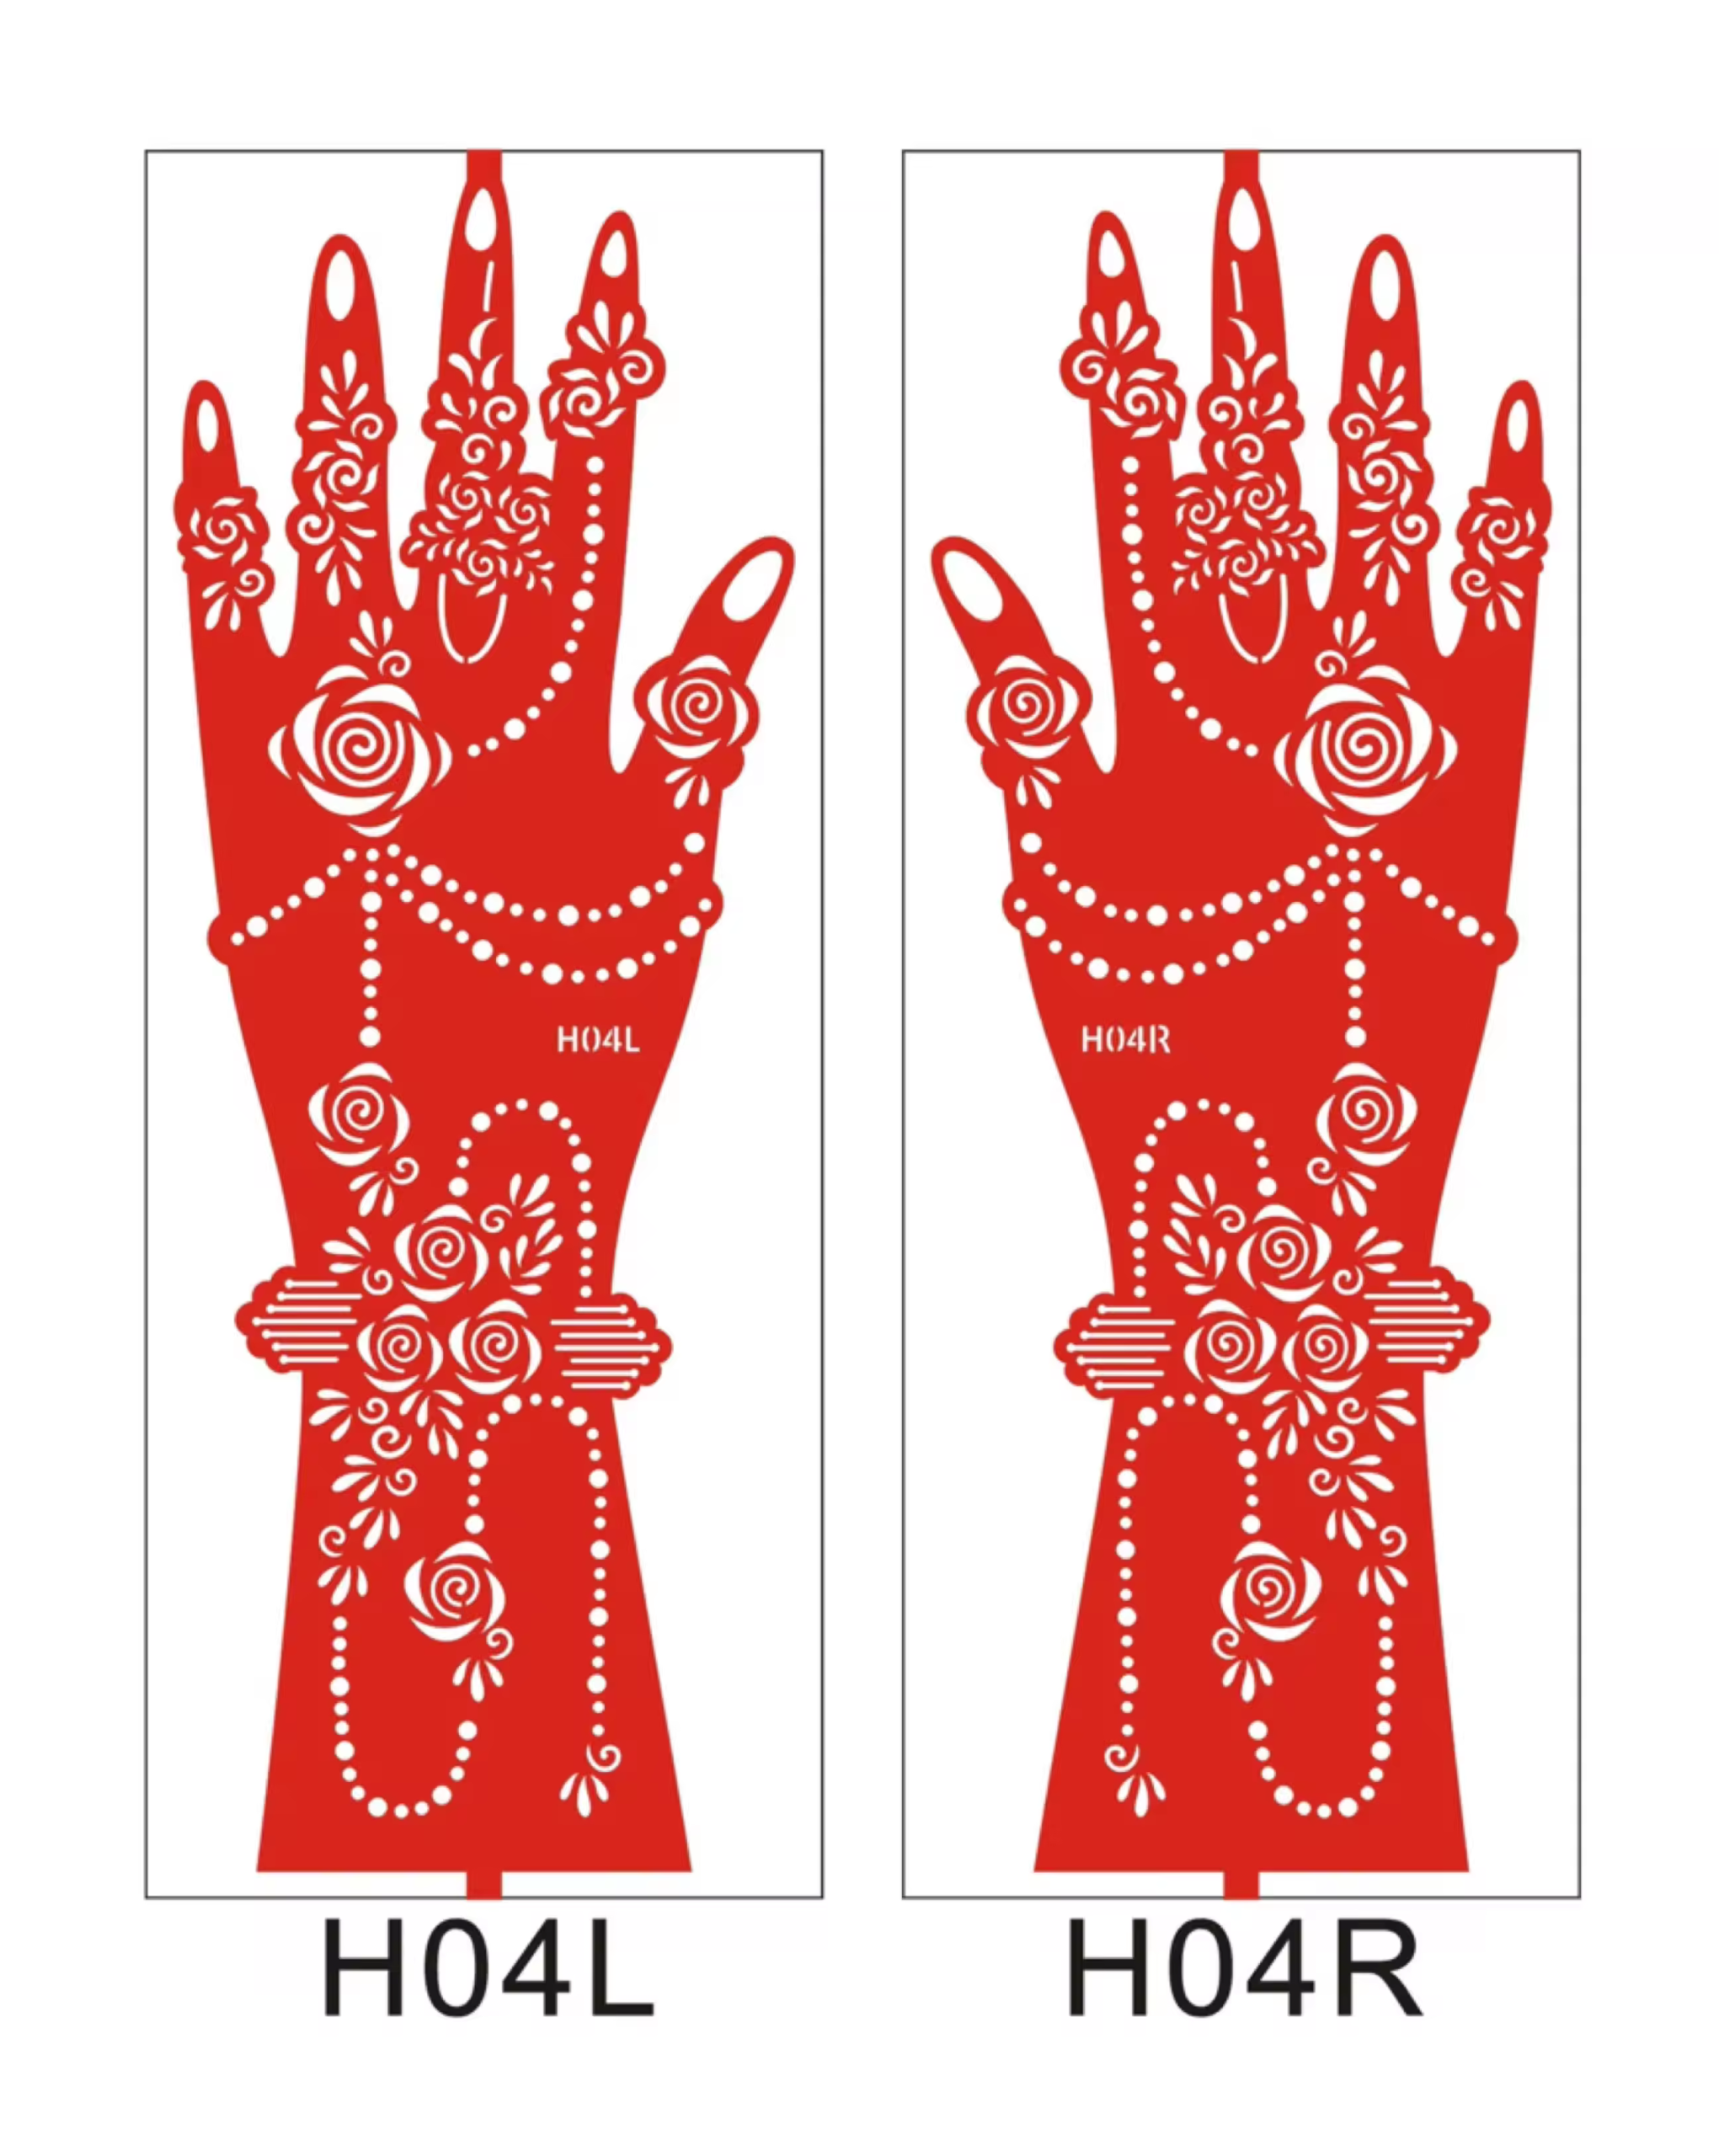
Discover the best Henna Stencils Design in Nairobi for flawless, intricate rose body art. Perfect for quick and stunning bridal or festive celebrations.

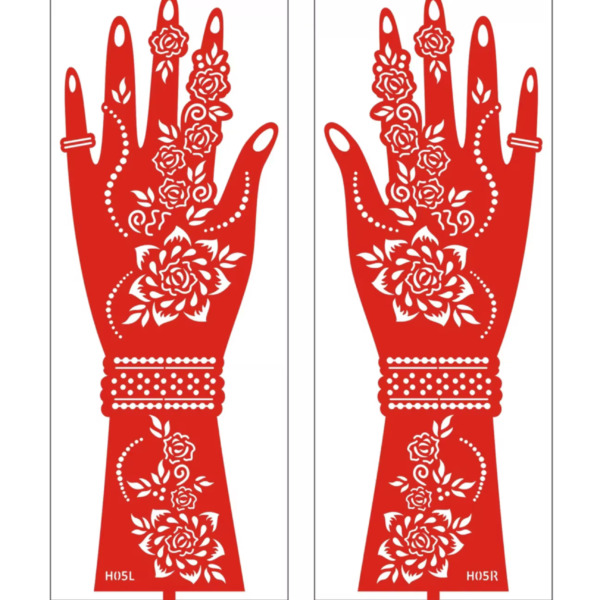
These Henna Stencils Design in Nairobi make achieving intricate, professional-looking body art easier than ever before. If you are searching for the ultimate Henna Stencils Design in Nairobi, this premium adhesive template pack is your perfect beauty solution. Designed for both the left hand (H04L) and right hand (H04R), this set features a beautiful, symmetrical pattern of blooming roses, elegant floral clusters, and delicate dotted chain lines that trail gracefully up the fingers and down the wrist.

Key Features of Our Premium Henna Stencils Design in Nairobi:

  • Flawless Symmetry Instantly.
  • Precision-Cut PVC Material.
  • Smudge-Free Results.
  • Easy Maintenance.
  • Professional Kit Quality.
  • × H04L Premium Henna Stencil: A precision-cut, flexible PVC stencil specifically designed for the left hand.

  • 1 × H04R Premium Henna Stencil: A matching precision-cut, flexible PVC stencil specifically designed for the right hand.

  • Original Backing Sheets: Heavy-duty, reusable backing sheets for both stencils to safely store them and preserve their adhesive grip between uses.

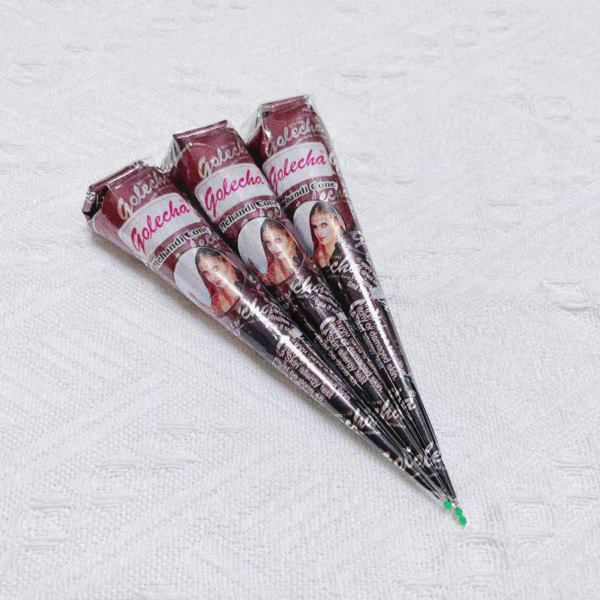
Note: This kit includes the left and right hand stencil pair (H04L & H04R) as pictured. Henna paste and application cones are sold separately.

  1. Skin Preparation: Ensure your skin is clean, dry, and free of oils or lotions. Oily skin prevents the stencil adhesive from sticking properly.

  2. Precision Placement: Gently peel the stencil from the backing and lay it flat across the palm. Smooth it out from the centre outwards to eliminate air bubbles.

  3. Even Application: Apply your henna paste liberally. Use a cotton swab or the applicator tip to push the paste into the intricate floral gaps of the design. Aim for a thick, even layer.

  4. The Drying Phase: Patience is key. Leave the henna on for at least 30 to 60 minutes. Do not move the stencil until the paste is semi-dry.

  5. Removal: Peel the stencil away slowly. If you have any residue, use a gentle cloth to clean the edges.

Shopping cart

0
image/svg+xml

No products in the cart.

Continue Shopping